The first installment gave part of an overview, and then concentrated on birds. This installment will complete the brief overview and concentrate on mammals.
Rules are meant to be broken. After all, they really aren’t rules, they’re techniques. Sometimes techniques don’t work. Use them when they do.
Use light to your advantage – Wildlife don’t tend to present themselves when the light is perfect. Know when to overexpose, underexpose, and when to punt. Maybe the photo lends itself to a silhouette.
Shoot wider – Wildlife photographers tend to want to fill the frame with the animal (including me). Sometimes showing an animal in it’s natural environment can prove to be your best shot.
Shoot closer – If you can get close enough, consider shooting just the head or even part of the head of an animal.
Remember the eye.
Shoot as many images as possible – Modern cameras will take 3 photos per second and more. Some many more. If you take a sequence of the same image usually one will be better than the others. That’s because doing something is almost always preferable to doing nothing. Catch the animal doing something. An expression on the animal’s face can make your photo.
Patience and perseverance – Nothing is more important to wildlife photography than these two attributes. It may take awhile before an animal does something.
A photographer once told me she stood in a river for six hours waiting for a heron to do something. In the end she got a photo of water coming off the heron’s wings. It was spectacular, and well worth it.
Enjoy what you’re doing – If you don’t, maybe you want to consider being a landscape or portrait photographer. At least your subjects don’t run away and hide.
This has been a very brief overview. If it sparks your interest, look into taking a class or do some research on the internet. There’s lots of information available.
Mammals
Birds are everywhere. Mammals are often easier to photograph, simply because they are often larger, but more difficult to find.
Most of my photographs of mammals were taken in state or national parks. Part of this article will be help in locating mammals.
The obvious place in the Intermountain West to find mammals is Yellowstone. I try to go every year. Sometimes twice. I like to go to Mammoth in late September for the annual elk rut. If you want a photo of an elk, and you don’t mind a building or a sign in the background, Mammoth in September is the place to be.
Obviously there are lots of large mammals in Yellowstone. Bison are everywhere. Bison are difficult to photograph, because the head and mane are very dark and they are boring. If you meter for the head there is a chance the rest of the image will be way overexposed. If you attempt an average exposure the head may be underexposed.
The best time to photogaph bison is under cloudy skies but when it’s still bright out. Of course, that doesn’t often happen. Try to catch any animal doing something. Something is usually more interesting that doing nothing. Just sniffing the air is better than doing nothing.
Grizzly bears and wolves are always favorites at Yellowstone. Good luck. In several trips to Yellowstone I’ve taken one good photo of a bear and one of a wolf. Of course, there’s always a chance you get lucky, but don’t go to Yellowstone for that purpose. Go to Yellowstone for the experience and take advantage of opportunities that present themselves.
Antelope Island State Park is a good place to look for pronghorns, bison, and coyotes. The best coyote photo I’ve ever taken was at Antelope Island.
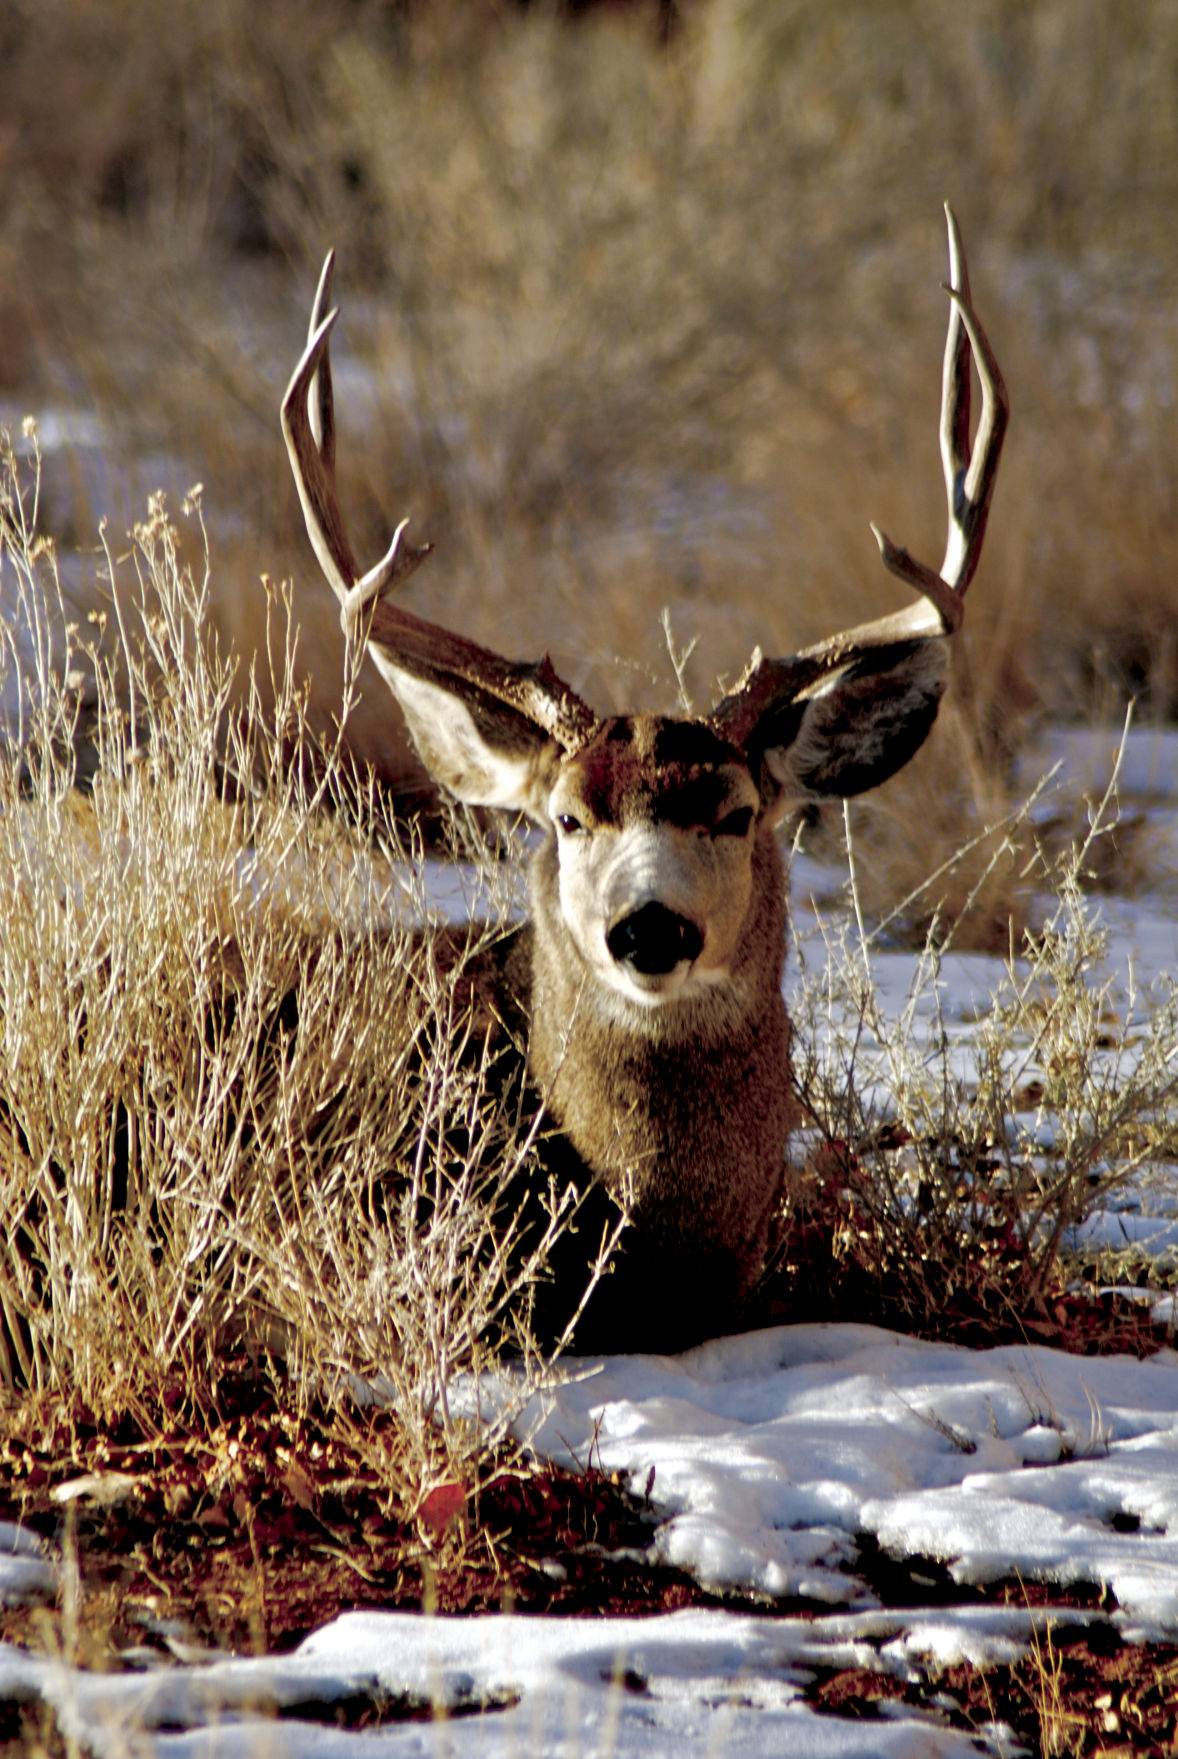
Capitol Reef National Park is a good place to look for deer. It use to be better. I’m not sure what’s happened to the deer, but there aren’t nearly as many big bucks as there were several years ago.
Valley of Fire State Park in Nevada is the best place I’ve found for photographing Big horn Sheep. Take the gravel road north beyond the campgrounds.
It’s a short drive which connects to the main highway and I’ve always seen sheep in this area.
As I said in part one of this article, don’t intrude on the animals. Stay in your car. Often an animal doesn’t associate the car as being a person. You are much more likely to get a good shot if the animal doesn’t know, or doesn’t care, that you’re there.
Become a wildlife sharpshooter … with a camera

DSC_0945.JPG
