This is the first of two articles I’m going to write on wildlife photography. In this article I will offer some general principles, then focus on birds. The second article will offer additional principles and will focus on mammals.
So, you want to get a photo of a wild animal. But, just how does a person go about that?
Wildlife photography can be an incredibly rewarding experience. It can also be exasperating.
Have you attempted wildlife photography? If so, you already know this — prepare yourself for disappointment.
I have been attempting wildlife photography for 40 years. I throw away the majority of my images. Almost as soon as I download my photos I typically discard half of them. Of the remaining I will eventually throw away half of those — or more.
I’m going to give you some tips about how you might improve your wildlife photography, but the biggest tip I can give you is — do it.
When I was taking writing classes in college the professor said, “writer’s write.” You must hone your skill. The only way to do that is to do it. Same thing with photography. Photographers take photos. Wildlife photographers take photos of wildlife. Don’t expect to get up one morning and decide to go get a masterpiece. It doesn’t work that way. Yes, one may get lucky, but I’m a firm believer that people who work hard tend to get lucky.
Equipment
This is my opinion. It’s not absolute. Few things are. But, my opinion is you will need a digital single lens reflex camera (DSLR) and at least a 300 millimeter lens.
The good news is, a camera of this type is relatively inexpensive. An entry-level camera can be purchased for a few hundred dollars. Some people are having good results with an all-in-one camera, such as the Canon Powershot or the Nikon Coolpix 500 or 600 series. I’m sure there are other good options. Mirror-less camera may be the wave of the future and camera manufacturers are starting to make longer telephoto lenses for these cameras.
Know your gear — If an opportunity presents itself you can’t be fumbling with your camera. Set it up before you leave. Set the appropriate ISO and make sure it’s set on the appropriate mode. I use shutter-priority and attempt to shoot at 1/1000 of a second. If you go below 1/400 of a second there is a good chance of camera shake. Know where the exposure compensation button is and be able to access it without taking your eye from the viewfinder.
Know your subject — The more you know about the behavior of your subject, the more likely you will be able to get a good photo. Of course, then the bird does exactly the opposite of what you expect it to do. So it goes . . .
Know the “rules” — This is not an article about composition, but composition comes into play in every photograph. Look online for “The rules of photography.” The eye of an animal is very important. The eye must be sharp. Focus on the eye. That’s not to say the eye is always important (usually, but not always — see the next tip in the next installment).
Birds
If you’ve ever attempted to take a photo of a bird in flight, you know how difficult it is. You want the bird in focus. You may want to have the wings slightly blurred to give the impression of flight, or you may want the entire bird in sharp focus. That’s a judgement decision. I personally like everything to be tac-sharp.
But, saying that is far easier than doing it. First, you need to have a very fast shutter speed. My rule is 1/400 of a second, but even that may result in blur, depending on what type of bird you’re shooting. While my rule is no slower than 1/400 of a second, my goal is 1/1000 of a second. That will stop most action, unless you’re shooting a hummingbird.
Hummingbirds are very difficult. They beat their wings at an incredible rate of 10-80 per second. That type of speed is almost impossible to stop. If I were you, I wouldn’t worry about it too much. As I said before, concentrate on the eye, or in the case of a hummingbird, the body.
Watch feeders
Since hummingbirds are attracted to feeders, it’s easy to get close to them, but difficult to photograph. Bottom line, if the body is tac-sharp, that’s all you can ask.
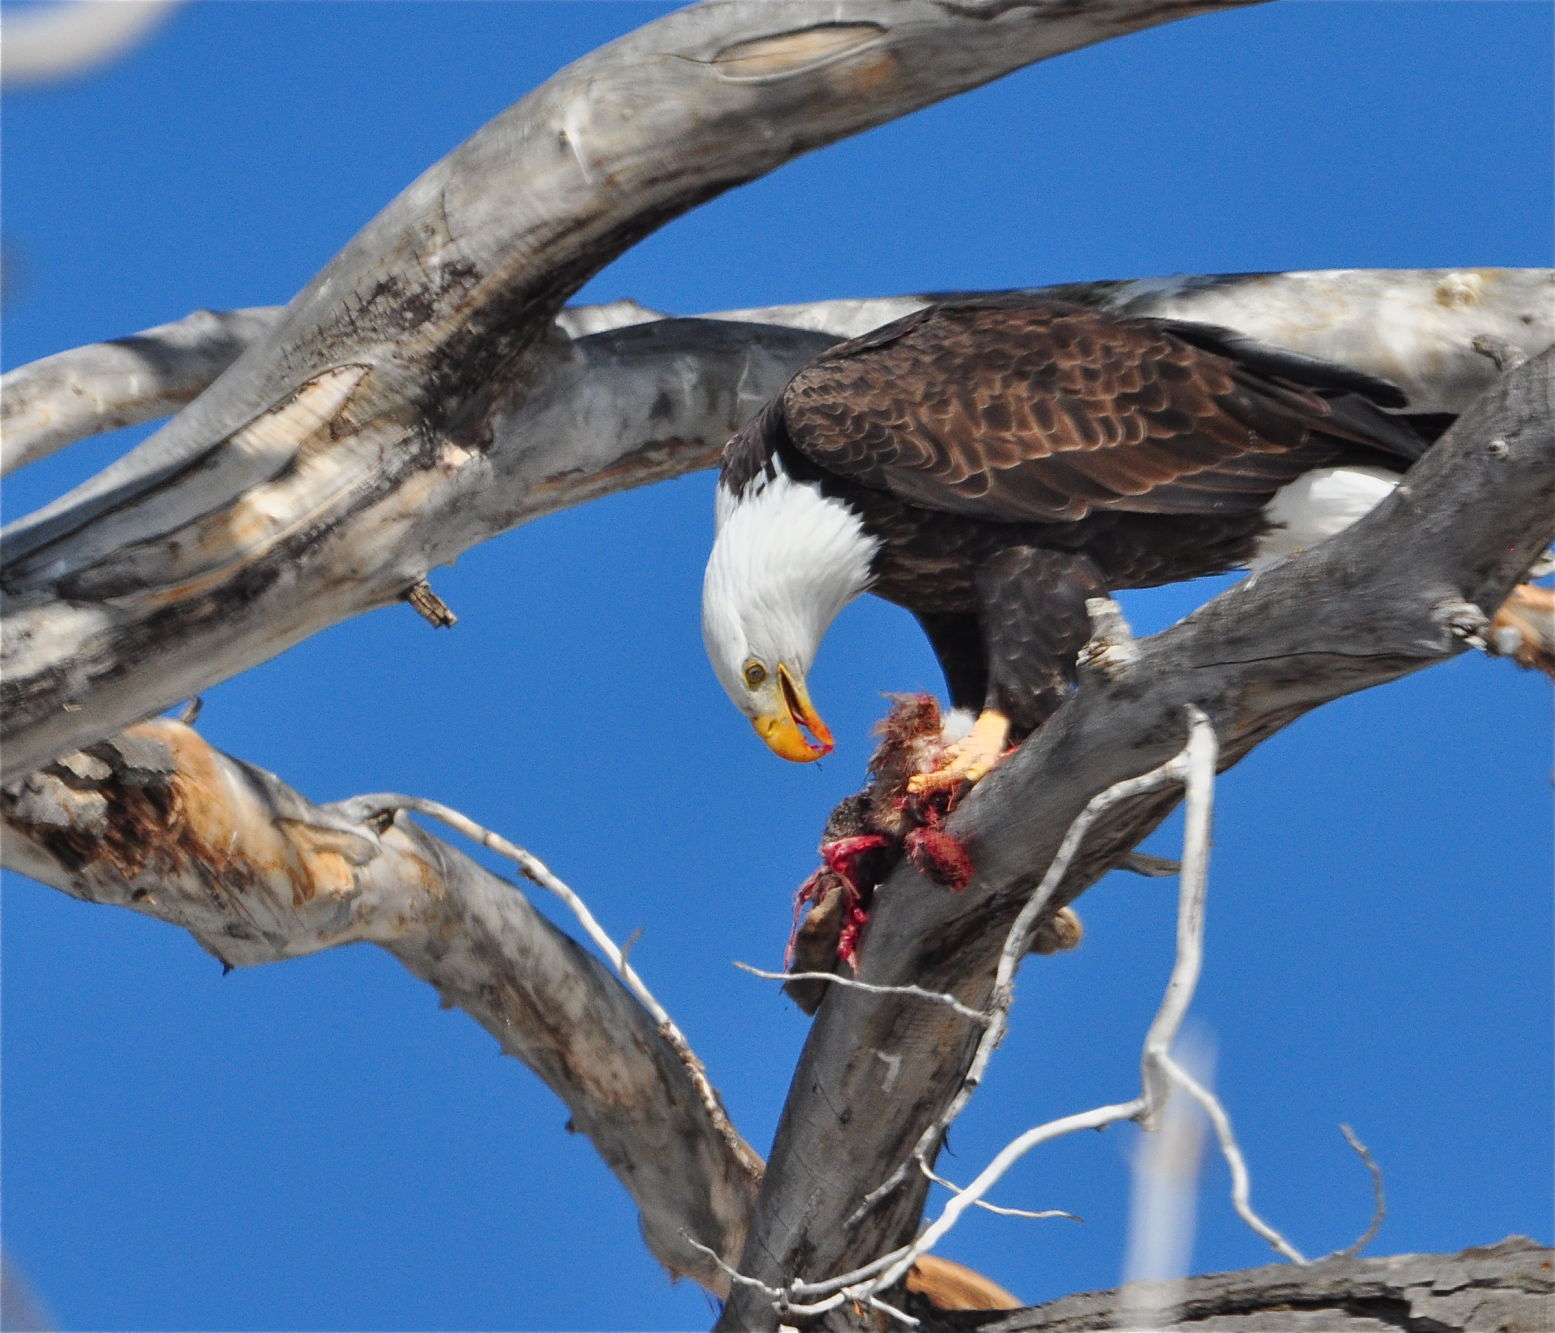
Other birds are easier to shoot while flying, but harder to get close to. Hawks and eagles don’t beat their wings nearly as fast as hummingbirds. But how many times have you been close enough to get a good photo of a hawk or eagle in flight? It takes perseverence. The one thing you don’t want to do is chase a bird around. Stand back and let them make the first move, then take your shot. Once in awhile a hawk or eagle will fly right over your head. That doesn’t happen often, so be ready.
A good place to photograph hawks is on Skyline Drive in late-September and early-October. This is during the annual fall migration. I’ve seen as many as 40 different hawks in a few hours.
Not all good bird photos are in flight. You can get good photos of a bird while sitting in a bush, a tree, or even on a pole. Again, don’t get so close that you scare the bird. Use your vehicle as a blind. Back roads are good places to look for birds, and there isn’t nearly as much traffic. Never stop in traffic to photograph anything, especially a bird.
Know your birds.
Knowing the behavior of a bird is often the way you are able to get a shot. If you know how a bird will act, you may be able to anticipate it. The only way you’re going to be able to do that is by studying birds. Get a good bird guide, and spend time in the habitat. I removed the screen from a front window. I have a crabapple bush in my front yard. I can sit in the house and shoot out the window. Some of my best shots have come this way and the birds aren’t in the least bothered.
Stay tuned. The next installment will be about mammals.